“Up to 30% of a home’s heating energy is lost through poorly fitted windows.” That’s not just a number, it’s money slipping out of your wallet month after month. Windows aren’t only about views and light they’re critical for keeping homes warm, dry, and secure.
Cost Savings vs Hidden Risks
For many homeowners, the temptation to tackle a DIY window installation is strong. It saves on labour costs, gives you control over the finish, and feels like a satisfying achievement. But here’s the catch, installing a window is one of those projects where small errors create big, expensive problems. A gap left unsealed? Water damage. The wrong slope on the sill? Rotting frames. Misplaced caulk? Energy bills that creep up every winter.
This blog is your step-by-step guide to installing a window correctly the first time. We’ll cover common DIY mistakes, share actionable tips for weatherproofing and sealing, and give you practical insights that can make your work last for decades.
Why Proper Window Installation Matters
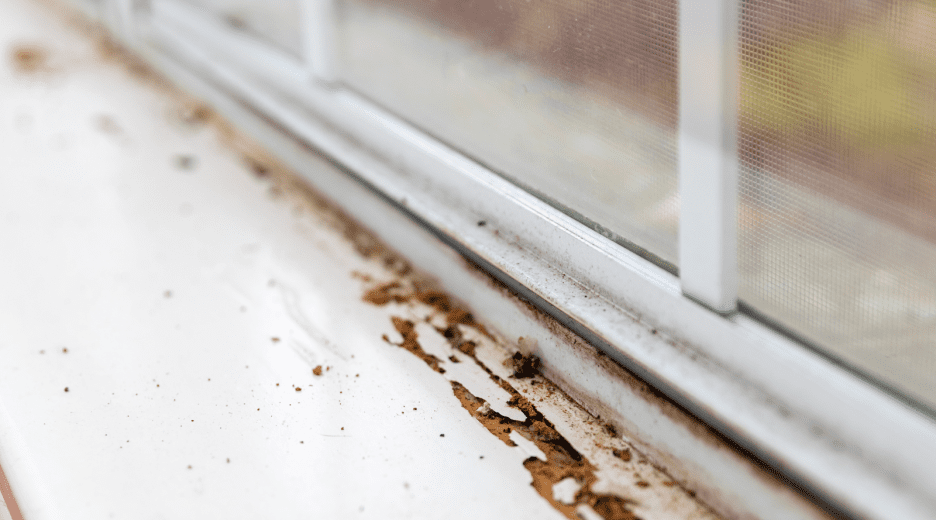
Think of your windows as part of your home’s defence system. Done right, they protect against water, wind, and unwanted noise. Done wrong, they can lead to:
- Leaks and water intrusion that damage plaster, paint, and woodwork.
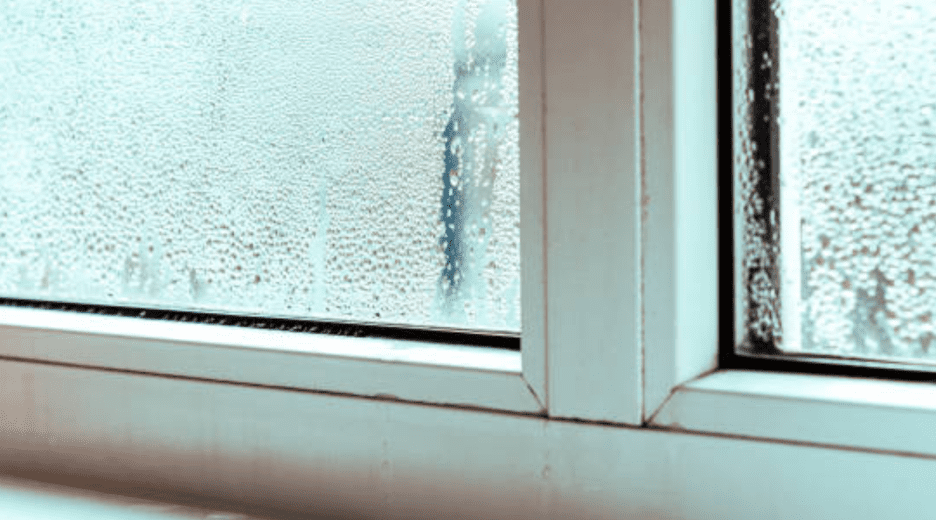
- Mould and mildew hiding in corners, creating health issues.
- Higher energy costs as heat escapes through gaps.
- Reduced lifespan of both the window and surrounding walls.
It’s not just about making the window look neat. It’s about building a barrier that holds up under storms, hot summers, and icy winters.
Mistake #1: Relying Only on Caulk
Caulk is important. But caulk is not a cure-all. Too many beginners run a bead around the edges and think the job’s done. A storm later, the water finds its way in.
Actionable Tip: Always use flashing tape or metal flashing around the window before caulking. Flashing redirects water away, while caulk seals the joints. The two together create a watertight barrier that lasts.
Mistake #2: Ignoring Weatherproofing
Even a perfectly square, tight-fitting window can leak if you ignore how water moves. Rain doesn’t sit politely, it finds cracks, seeps into gaps and runs down walls.
If you’re wondering how to weatherproof a new window, start with these essentials:
- Slope the sill so water drains away from the house.
- Wrap exposed trim in aluminium or use PVC boards instead of raw timber.
- Apply exterior-grade silicone caulk designed to handle expansion and contraction.
This simple weatherproofing extends the life of both the window and the wall.
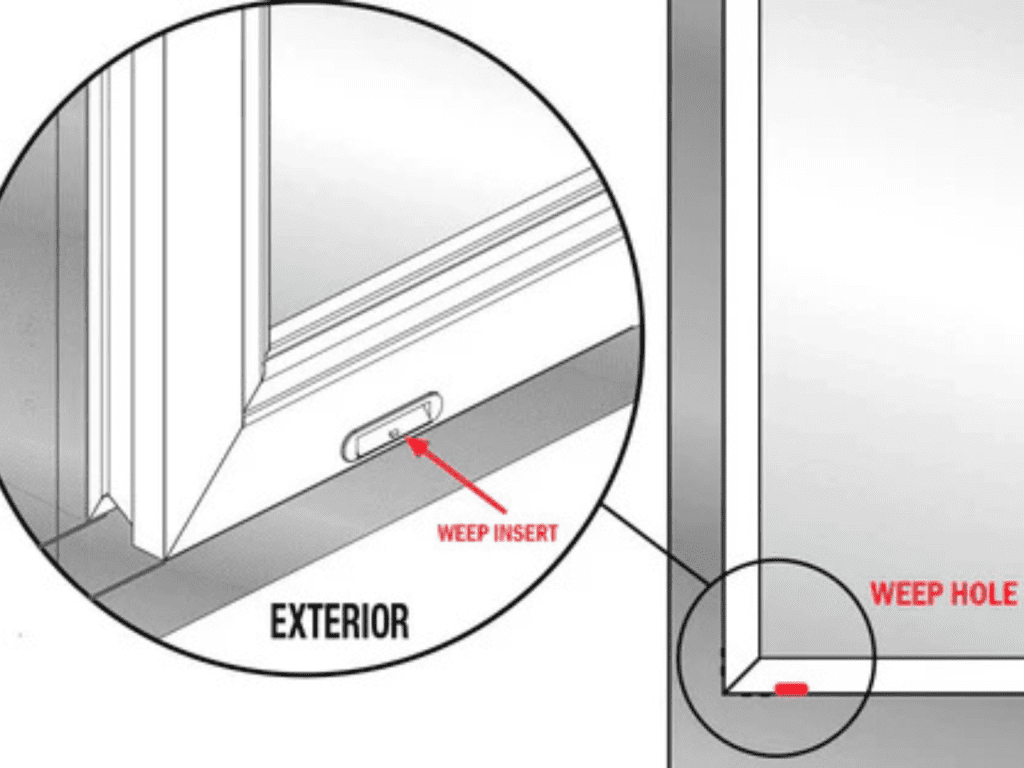
Mistake #3: Blocking Weep Holes
Modern windows come with small drainage channels at the bottom called weep holes. They let trapped water escape. Accidentally cover them with trim or caulk, and you’ve built yourself a water tank.
Actionable Tip: Leave all weep holes exposed and clear. Test them by pouring a little water into the frame if it drains freely, they’re working.
Mistake #4: Wrong Window Placement
Push the frame too far into the wall, and rainwater pools on the sill. Skip shims, and your frame isn’t square, leaving gaps that suck in cold air.
Actionable Tip:
- Follow the manufacturer’s placement guidelines.
- Use shims to keep the frame level and plumb.
- Check alignment with a spirit level at each stage.
Taking time here saves endless frustration later.
Mistake #5: Using the Wrong Materials
Raw pine trim might look sharp at first, but give it one winter and you’ll be peeling it out in chunks.
Actionable Tip: Choose materials built for weather:
- Pressure-treated timber.
- PVC trim boards.
- Aluminium cladding for long-lasting durability.
Yes, it costs a bit more upfront. But it saves hundreds in replacements later.
How to Install a Window Step by Step
Here’s a simplified version of the professional process:
- Measure accurately – Take three measurements of the width and height (top, middle, bottom). Order the smallest size to ensure fit.
- Prepare the opening – Remove debris, old caulk, and loose material. Check for rot.
- Apply flashing tape – Start with the sill, then the sides, and finish at the top. Overlap each layer for a shingle effect.
- Dry-fit the window – Test placement with shims, check for level and plumb.
- Secure the frame – Fix through the sides (never the sill) using screws designed for windows.
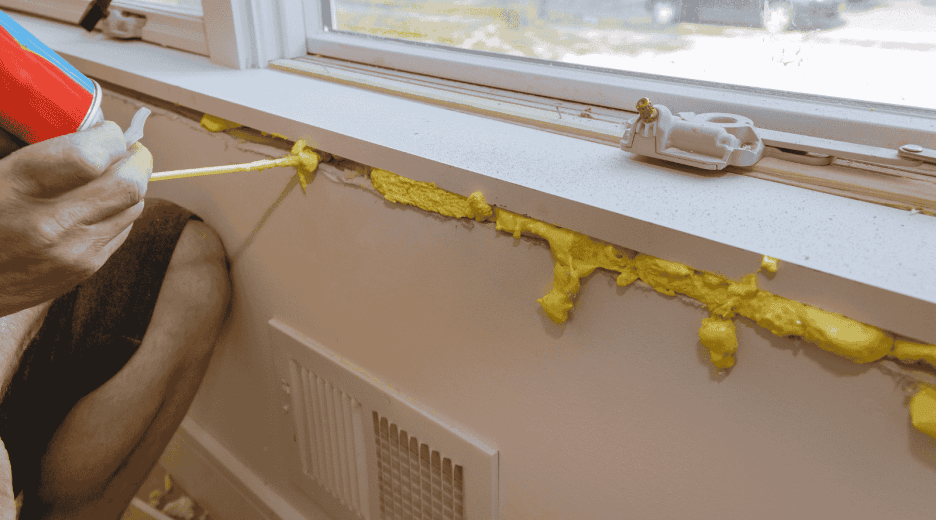
- Insulate gaps – Use low-expansion foam around the frame. Avoid overfilling—it can bow the frame.
- Seal with caulk – Apply exterior-grade silicone around the perimeter.
- Protect with trim – Add PVC or aluminium cladding for long-term weather resistance.
Extra Tips for a Professional Finish:
- Don’t rush the caulk – Apply in smooth, continuous beads. Tool it with a damp finger or caulk tool for a clean seal.
- Use the right foam – Low-expansion only. Standard foam expands too much and can warp frames.
- Work with the weather – Avoid installing in heavy rain or freezing conditions. Caulk needs time to cure.
- Keep ventilation in mind – Don’t cover weep holes or restrict airflow around the sill.
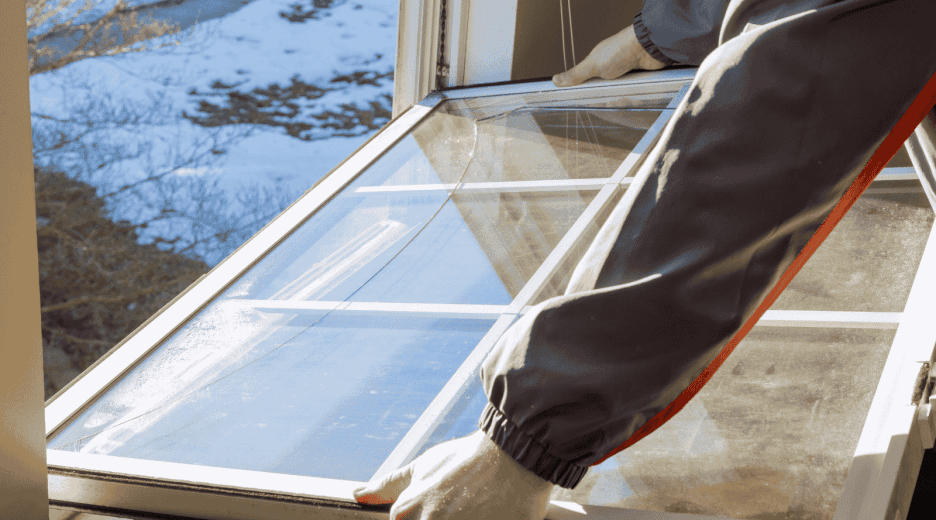
Safety Considerations for DIY Installers
Working with windows means working with glass, ladders, and sharp tools. Stay safe by:
- Wearing gloves when handling glass.
- Using proper eye protection when cutting trim or flashing.
- Securing ladders on solid, level ground.
- Having a helper for lifting and positioning large windows.
Even a small window is heavy and awkward—don’t risk injury.
FAQs on DIY Window Installation
Can I really install a window myself?
Yes, if you’re confident with basic carpentry and follow instructions carefully. For larger windows or upper-floor installs, consider professional help.
What’s the best sealant for windows?
Exterior-grade silicone. It flexes with temperature changes and resists UV damage.
How do I know if my window is level?
Check with a spirit level at the sill and sides during installation. If it isn’t square, the window won’t open or close properly.
DIY window installation is absolutely achievable for a determined homeowner but only if you treat it like a precision project, not a quick fix. The difference between a drafty, leaky window and a professional-quality result comes down to preparation, materials, and attention to detail.
Avoid the classic mistakes, don’t rely solely on caulk, don’t block weep holes, and don’t skimp on flashing. Use durable materials, slope your sill, and take your time to get everything level. Do it right once, and your window will last for decades, saving you money and adding comfort to your home.
Looking for a Hassle-Free, Professional Finish?
While DIY can be rewarding, nothing beats the peace of mind that comes with expert installation. At GL Glazing & Window Services, we bring years of experience, top-quality materials, and a perfect finish every time without the stress or risk of costly mistakes.
Let us handle your next window or door project and enjoy a warmer, safer, and more energy-efficient home.
Call us today at 0121 429 7611 / 07970 903 666 or get your free quote.

