Solid Roof
- Home
- Solid Roof
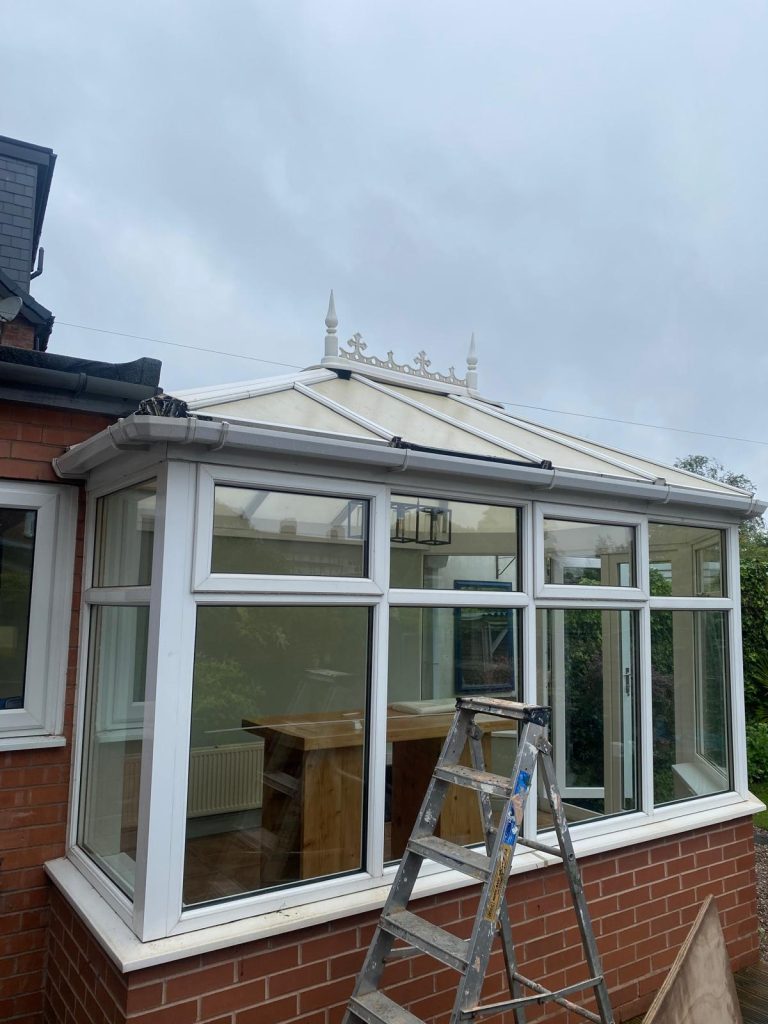
Is your conservatory too hot in the summer and freezing cold in the winter? Unfortunately, many homeowners face this issue, which makes it hard to use the space comfortably all year round. However, don’t worry—we have a great solution for you!
We can replace your old conservatory roof with a warm roof system. Consequently, this energy-efficient roof will turn a draughty, uncomfortable space into a cozy extension of your home. Best of all, it won’t cost as much as a full extension.
Why Consider a Warm Roof for Your Conservatory?
As homeowners, we all want our homes to be energy-efficient and comfortable. Because of this, a warm roof is an excellent choice. It improves thermal performance, which makes your conservatory usable in any season. Below, we’ll explain what a warm roof is, its benefits, and why it’s a smart upgrade for any home.
What is a Warm Roof?
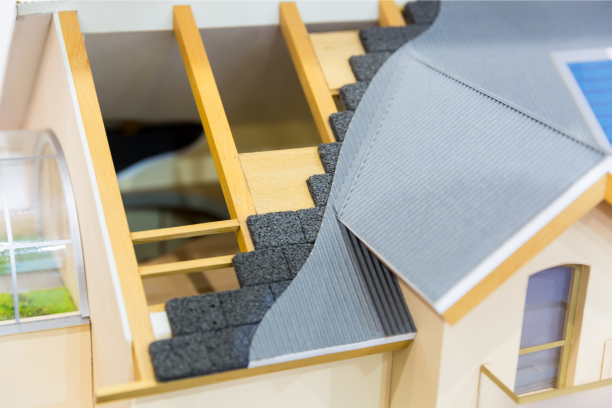
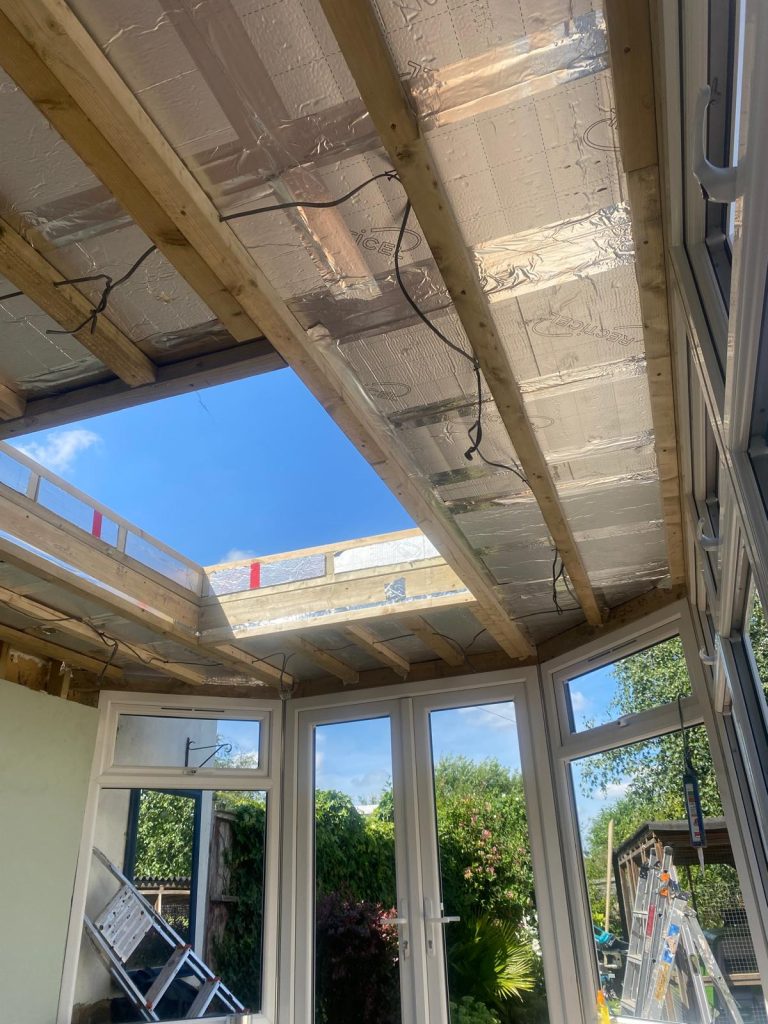
A warm roof has insulation installed on top of the roof deck, ensuring the entire structure stays warm. In contrast, a traditional “cold roof” has insulation placed below the roof deck, which can cause heat loss and lead to other issues. By insulating the whole roof, a warm roof system keeps the space comfortable while preventing heat from escaping.
Key Components of a Warm Roof
- Insulation Layer: Keeps heat in, using materials like rigid foam or mineral wool.
- Waterproof Membrane: It protects against moisture ingress, which, in turn, ensures the longevity of the roof.
- Roof Deck: This serves as the structural base that supports the weight of the roof and insulation materials.
- Vapour Barrier: It prevents condensation and moisture buildup between the insulation and the roof deck.
Benefits of a Warm Roof
- Energy Efficiency: A warm roof significantly reduces heat loss, which leads to lower energy bills and a smaller carbon footprint.
- Enhanced Comfort: With a warm roof, the temperature remains consistent throughout the home, thus eliminating cold spots and drafts.
- Condensation Control: Proper insulation prevents moisture buildup, which can otherwise lead to mould growth and structural damage.
- Versatile Design: Additionally, a warm roof conservatory can be adapted to various styles, including flat, pitched, and even green roofs.
- Longevity: With reduced thermal stress, a warm roof can also increase the lifespan of your roofing materials.
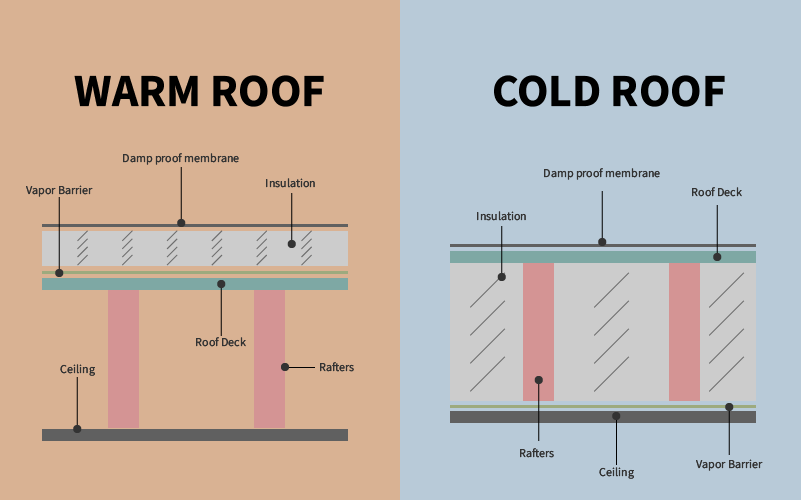
Warm Roof vs Cold Roof: Which is Better?
When comparing warm roofs vs. cold roofs, the difference lies in the placement of insulation. In a warm roof, insulation is installed on top, which keeps the whole roof warm and dry. On the other hand, a cold roof has insulation below, which can lead to condensation problems. Because of this, a warm roof is the better choice for conservatories.
Step-by-Step Installation Process for a Warm Roof
Step 1: Planning and Assessment
Before installation, we carefully assess the existing roof structure, including its condition, slope, and any potential drainage issues. Furthermore, we identify the necessary materials such as insulation boards, vapour barriers, and roofing membranes.
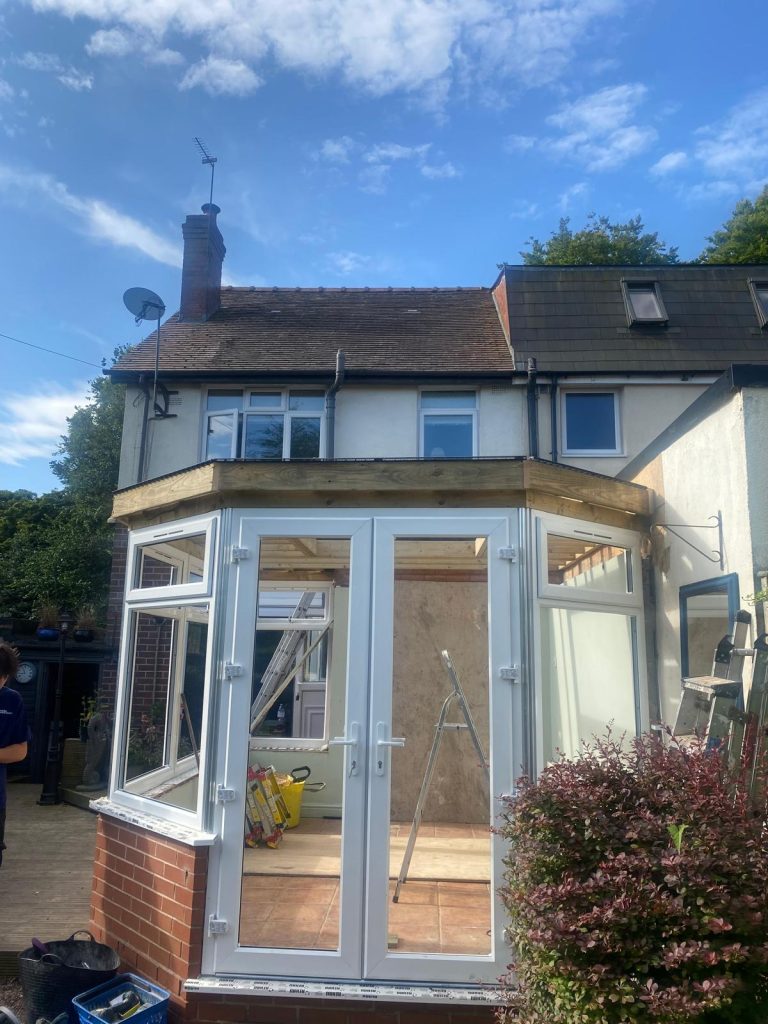
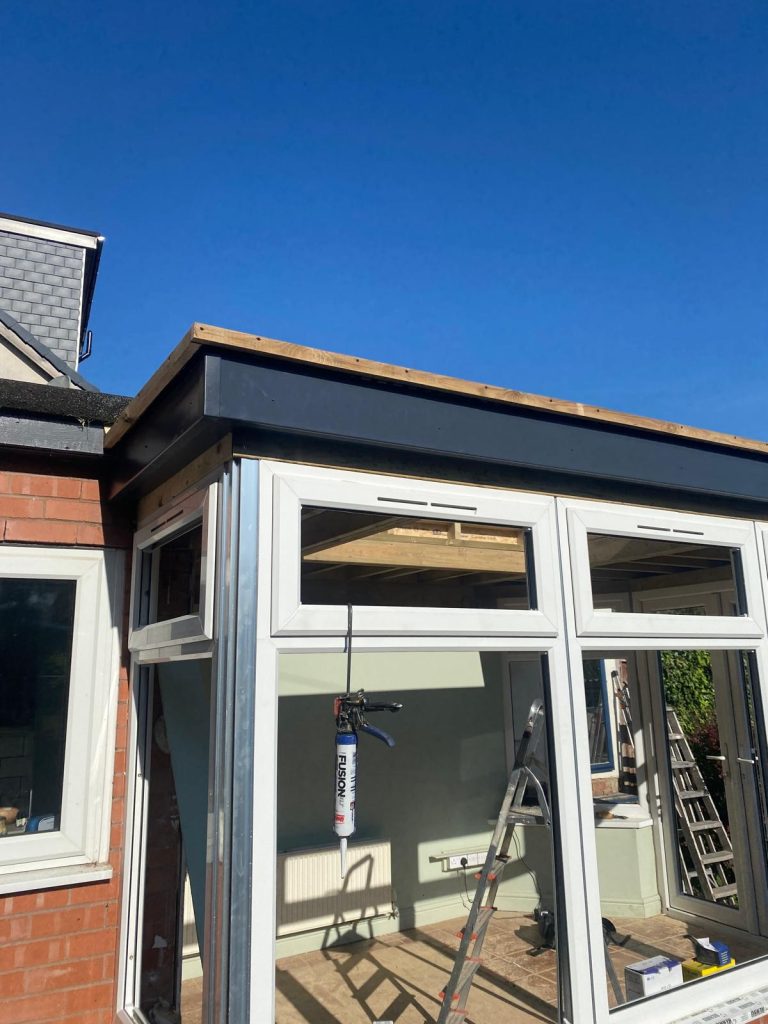
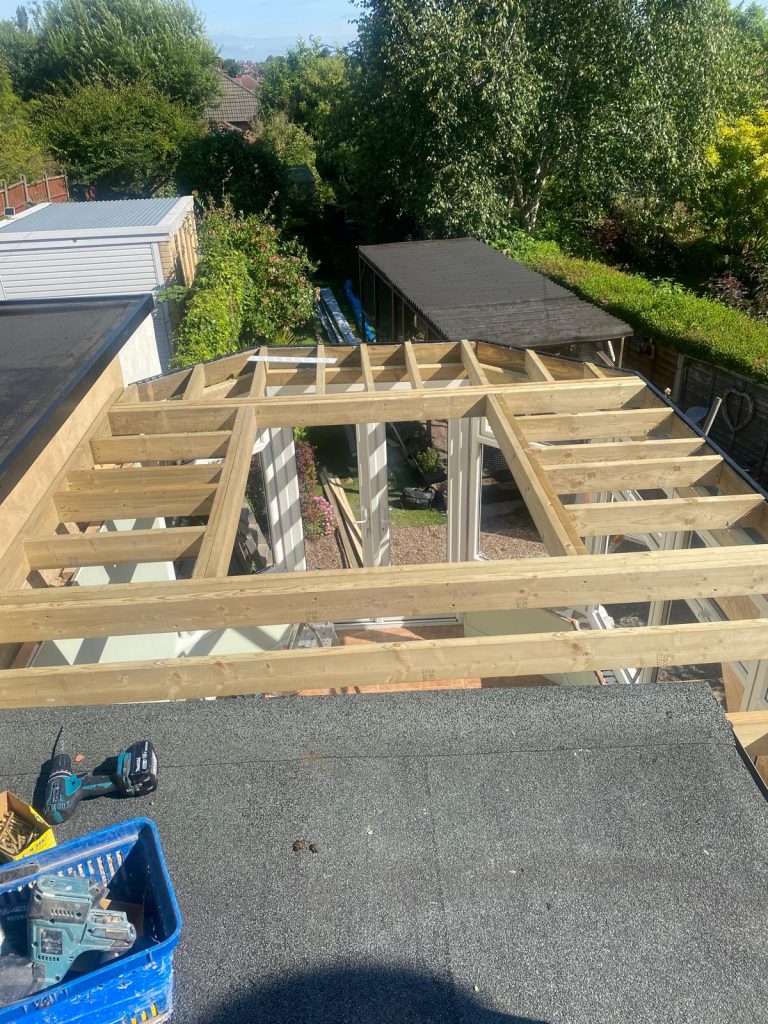
Step 2: Preparing the Roof
Next, we remove any existing roofing materials down to the structural deck, ensuring the surface is clean, free of debris, and properly dry.
Step 3: Installing a Vapour Barrier
We then apply a high-quality vapour barrier across the entire roof surface, ensuring it’s seamless and covers any joints appropriately. The vapour barrier’s purpose is to prevent moisture from the living space below entering the insulation layer, which could lead to condensation and potential mould issues. We ensure proper adhesion using suitable adhesives, and tape any seams for added protection.
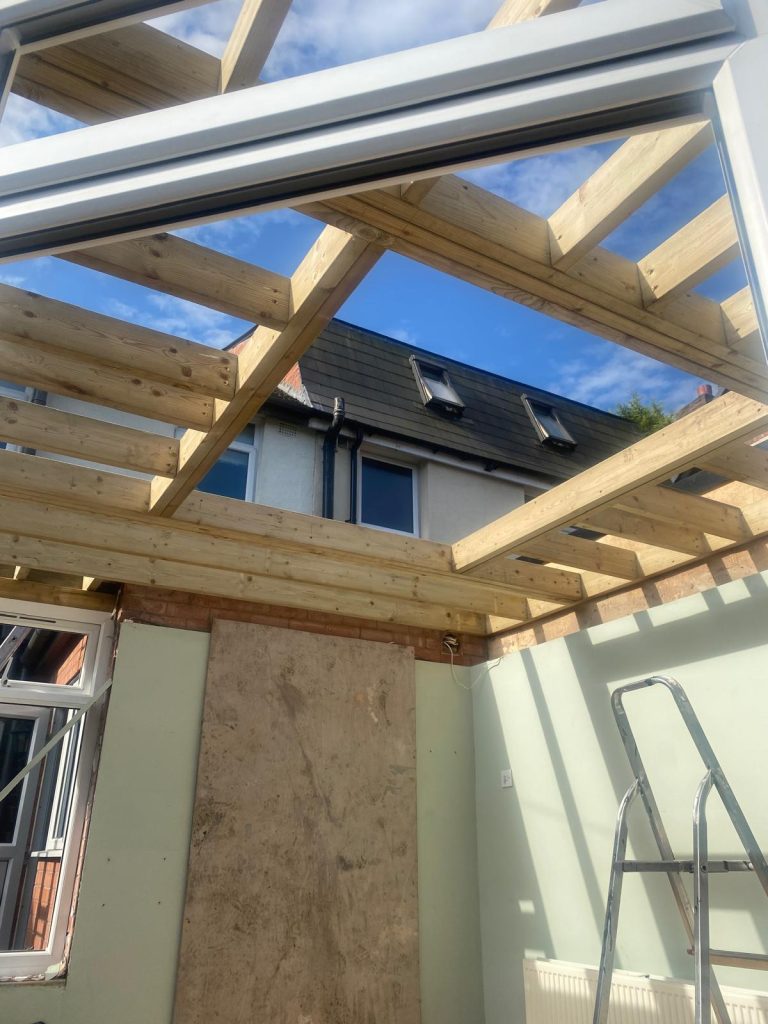
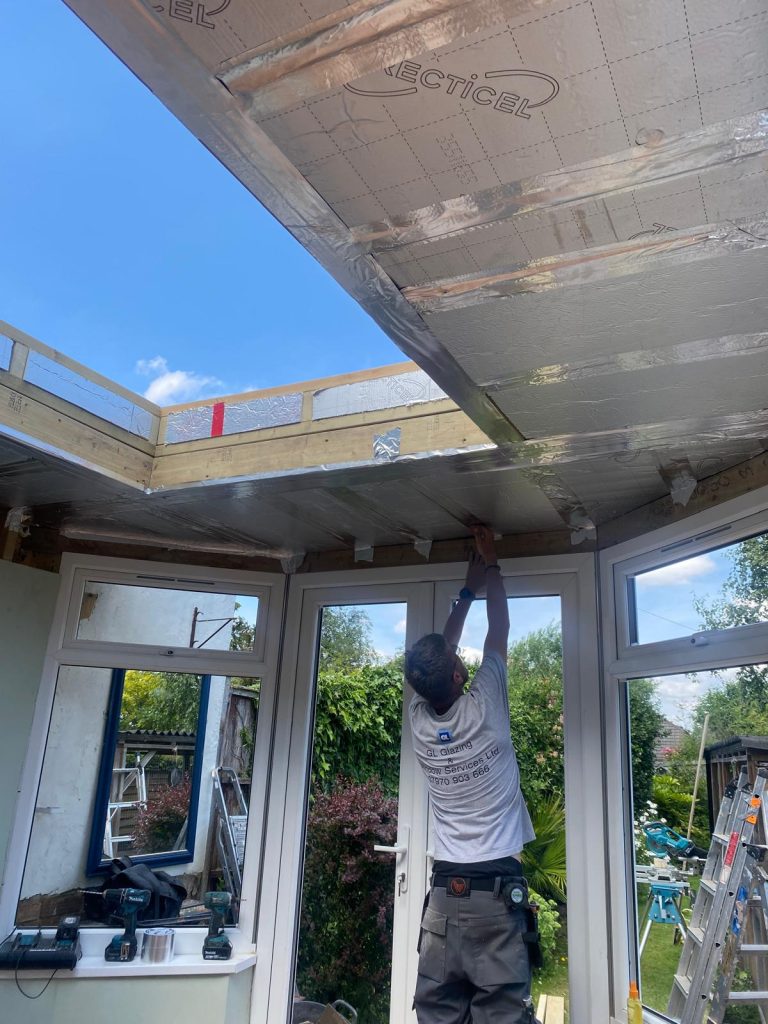
Step 4: Laying Down the Insulation
Next, we begin installing the insulation boards. We will choose insulation materials that suit your thermal performance needs, such as rigid foam boards or mineral wool. We make sure the boards fit tightly together, and seal any gaps with expanding foam to optimize thermal efficiency.
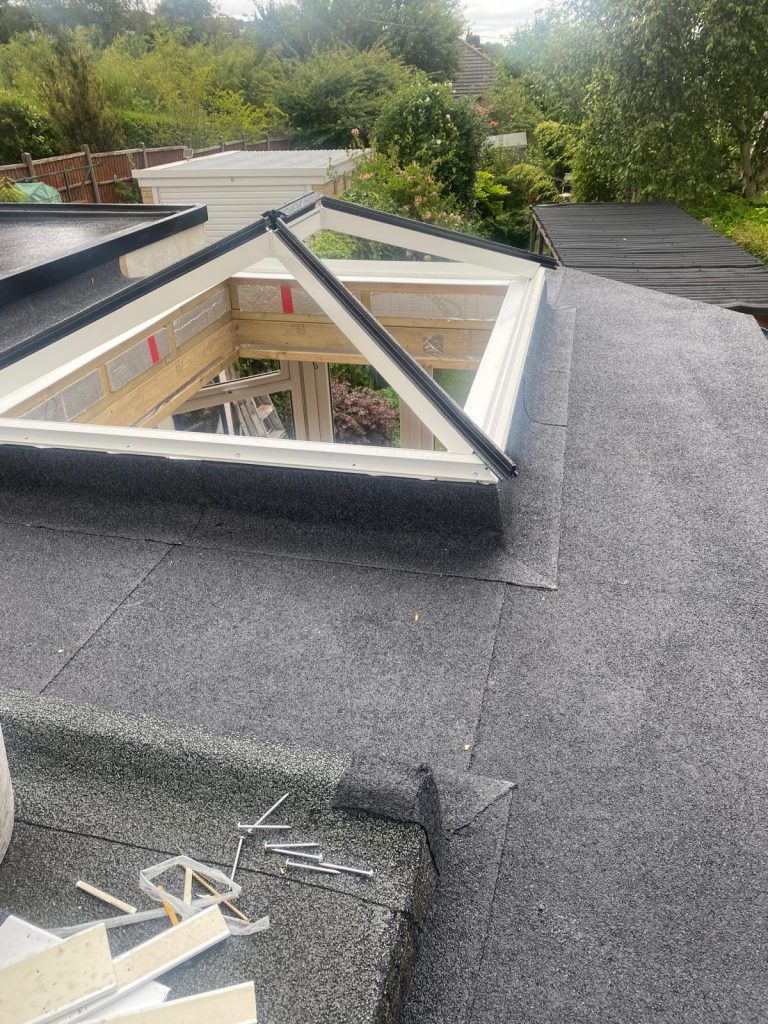
Step 5: Installing the Roofing Membrane
Once we have secured the insulation, it’s time to apply the roofing membrane. The membrane acts as a protective barrier against the elements. Depending on your choice, we install a single-ply system (like EPDM or TPO), a built-up roof system, or a modified bitumen membrane. We ensure that the membrane completely covers the insulation and overlaps at any seams. We use suitable fasteners and adhesives for secure attachment.
Step 6: Setting Up Proper Drainage
We will incorporate proper drainage systems into your warm roof installation to prevent water pooling. We will install any necessary rooftops, drains, or gutters as your design dictates. We also ensure that water routes are effectively directed off the roof and away from the building foundation to maintain structural integrity.
Step 7: Flashing and Finishing Touches
We then seal around edges and penetrations (such as chimneys, vents, or skylights) with flashing materials to prevent water infiltration.
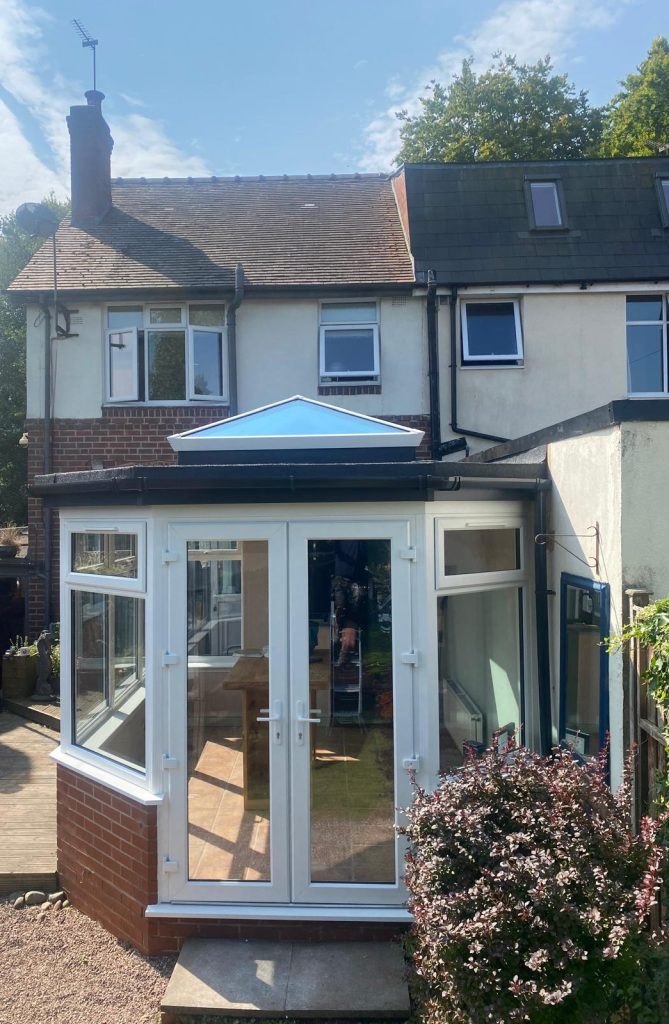
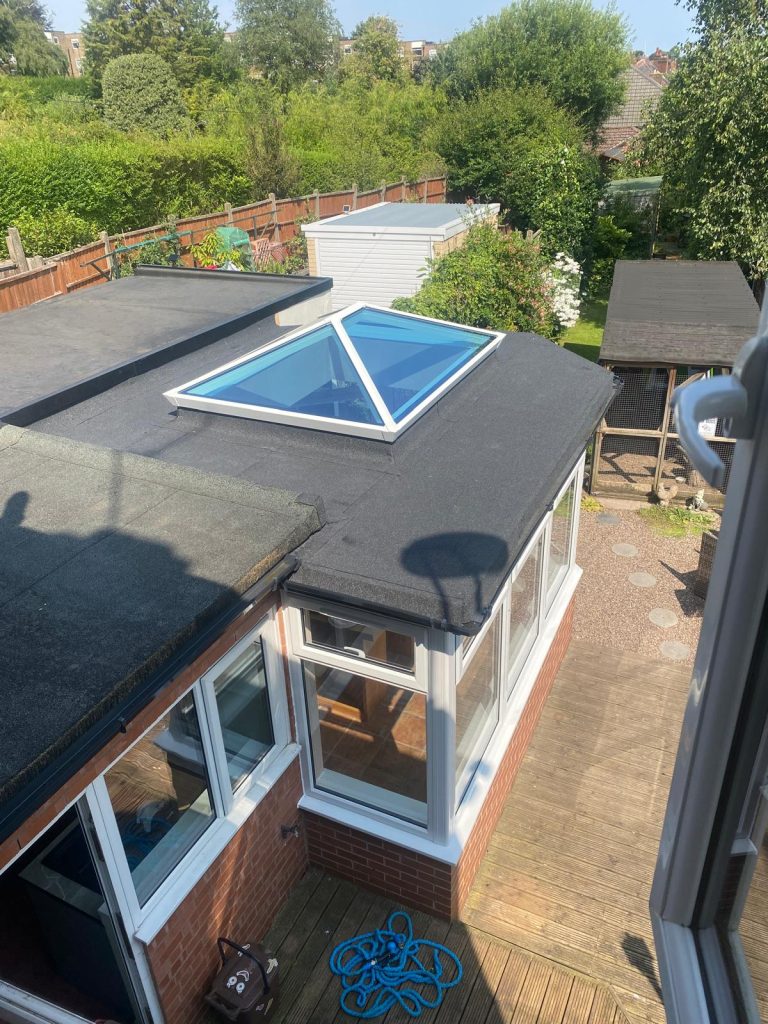
With a warm roof, your conservatory will be energy-efficient and cozy year-round. Thus, you’ll save on heating bills and enjoy a more comfortable home. Therefore, say goodbye to temperature swings and hello to a perfect living space!
Stay in the loop! Follow us on social media for the latest updates, project showcases, and exclusive offers!
____
GL Glazing Window & Services Ltd

